A great birthday photo book is not created by simply placing as many photographs as possible onto a series of pages.
It works because the photographs tell a story.
Whether you are making an album for your partner, parent, sibling, child, or best friend, the process becomes much easier when you separate it into three stages: collecting memories, building the story, and designing the pages.
Here is a practical step-by-step guide.
Step 1: Decide Who the Photo Book Is For
The relationship should determine the type of memories you collect.
For example:
For a partner: focus on your relationship, dates, trips, milestones, and everyday moments.
For a parent: focus on family history, childhood, generations, and shared memories.
For a best friend: focus on adventures, inside jokes, casual photographs, and friendship milestones.
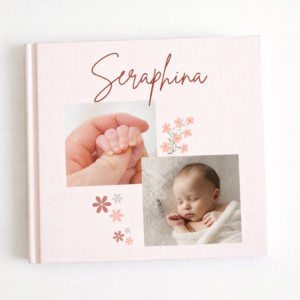
For a child: focus on growth, childhood, family, achievements, and memorable stages of life.
Step 2: Choose the Purpose of the Album
Before selecting photographs, decide what the book is supposed to accomplish.
It could be:
- A birthday gift
- A milestone birthday album
- A relationship memory book
- A family history
- A year-in-review album
- A scrapbook-style memory book
This decision makes photo selection much easier.
Step 3: Create a Photo Folder
Do not design directly from your phone’s camera roll.
Create a folder for the project and copy potential photographs into it.
Then create subfolders such as:
Childhood
Family
Friends
Travel
Everyday
Milestones
Birthday
Messages
Step 4: Remove Duplicate Photos
If you have ten photographs from the same moment, you probably do not need all ten.
Keep the photograph with the best:
- Expression
- Composition
- Lighting
- Emotional value
- Story
Step 5: Decide How Many Pages You Want
You do not need to decide the exact number immediately.
Start with a rough target.
For example:
20 pages: compact birthday gift
30 pages: balanced personal album
40+ pages: detailed life or milestone album
The number of photographs should then be planned around the page count.
Step 6: Create a Story Before Designing
This is the step that separates a photo book from a random photo collection.
Ask:
Where does the story begin?
What are the important chapters?
What should the reader remember at the end?
For example:
Childhood → Family → Friends → Adventures → Recent memories → Birthday → Future
Step 7: Choose a Design Style
Pick one visual direction before designing every page.
Minimal
Best for clean, modern albums.
Editorial
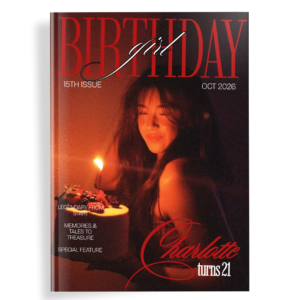
Works well for sophisticated photographs and contemporary typography.
Scrapbook
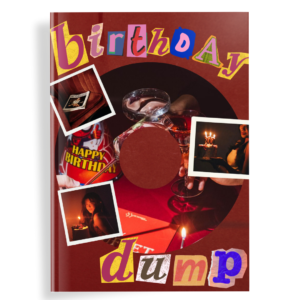
Ideal for casual memories and decorative elements.
Polaroid
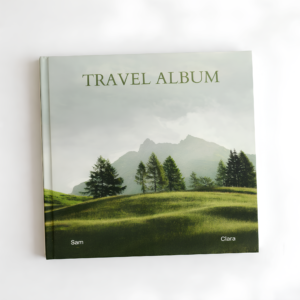
Works particularly well for friendship and travel albums.
Collage
Useful when you have many photographs.
Step 8: Select a Template or Start From Scratch
Starting from a blank canvas gives you complete control, but it also means you need to make every design decision yourself.
A pre-designed template provides an existing visual system that you can personalize.
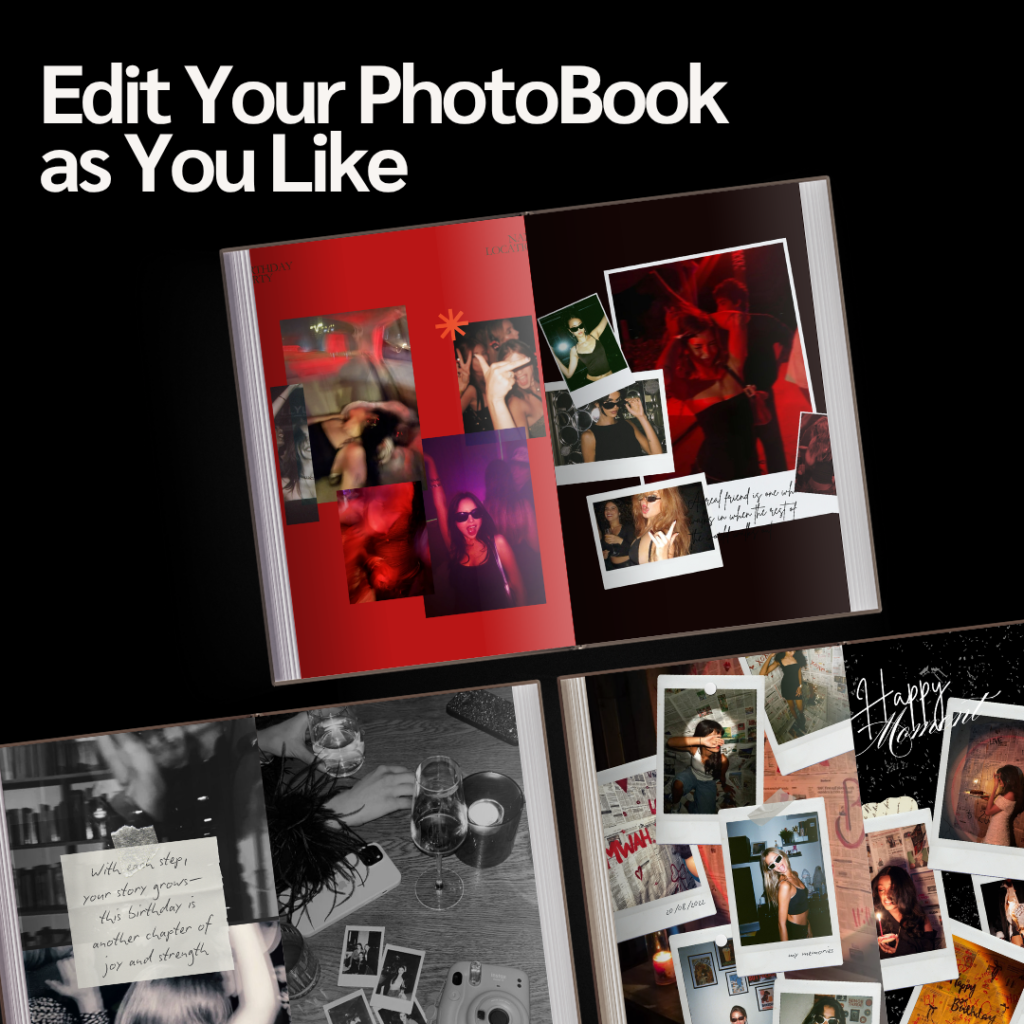
Darlae’s Aesthetic Birthday Photo Book provides a 32-page Canva template for creating a modern birthday album. Aesthetic Birthday Photo Book – Darlae
If you prefer a more layered memory-book style, the Scrapbook Birthday Photobook provides scrapbook-inspired layouts and decorative elements. https://darlaeart.com/product/scrapbook-birthday-photobook/
Step 9: Start With Your Strongest Photograph
Do not necessarily begin with the first photograph you find.
Choose an image that immediately establishes the personality of the birthday person.
This becomes the visual introduction to the album.
Step 10: Create Visual Variety
Do not use the same layout on every page.
Alternate between:
- Full-page photographs
- Two-photo layouts
- Collages
- Text pages
- Timeline pages
- Small photo grids
- Quote pages
This keeps the album visually interesting.
Step 11: Keep Text Short
Photobooks are visual.
Instead of writing a 300-word paragraph underneath a photograph, use:
Date
Location
One sentence about the memory
Reserve longer writing for dedicated letter pages.
Step 12: Use High-Quality Images
Whenever possible, use the original photograph rather than a screenshot downloaded from social media.
Check photographs for:
- Blur
- Pixelation
- Extreme cropping
- Poor exposure
- Low resolution
Step 13: Create a Strong Ending
The final pages should not feel like whatever photographs happened to be left over.
End intentionally.
Good endings include:
- A personal letter
- A favorite photograph
- A future bucket list
- Birthday wishes
- A photograph of everyone together
- A short closing message
Step 14: Review the Entire Album
Before exporting, look through the album from beginning to end.
Check whether:
- The story flows naturally
- Similar photographs appear too close together
- Text is readable
- Important photographs are given enough space
- Colors are consistent
- No photographs are accidentally cropped
- There are no spelling mistakes
Step 15: Save a Final Copy
Keep an editable version and an exported final version.
If you are designing in Canva, keep the original design accessible so you can make changes later.
A Simple Birthday Photo Book Formula
If you want a reliable structure, try:
Cover
Opening message
Childhood
Family
Friends
Favorite places
Travel
Funny moments
Milestones
Everyday memories
Current year
Birthday
Messages
Personal letter
Future memories
Closing photograph
What Makes a Birthday Photo Book Worth Keeping?
Three things matter most:
Personalization
The album should feel impossible to give to anyone else.
Story
The photographs should have a relationship with one another.
Restraint
Not every photograph needs to be included, and not every page needs decoration.
A thoughtful 25-page album can be more memorable than a 100-page album filled with random photographs.
Frequently Asked Questions
What is the easiest way to make a birthday photo book?
The easiest approach is to organize your photographs first and then customize a pre-designed photo book template in a tool such as Canva.
How long does it take to make a birthday photo book?
A simple album can be designed in a few hours once your photographs are organized. The biggest time-saving step is selecting and sorting photographs before beginning the design.
How many photos should I use?
Around 50–100 photographs is a practical starting range for a 30-page album, although the exact number depends on the layouts.
What should the first page of a birthday photo book say?
It could contain the person’s name, birthday, age, a short message, or simply a meaningful photograph.
How should I end a birthday photo book?
A personal letter, meaningful photograph, birthday message, or future-looking page usually makes a stronger ending than another random collage.
Tags: how to make a birthday photo book, birthday photo book, birthday album, photo book tutorial, birthday gift ideas, Canva photo book, birthday scrapbook